This week, I experimented with linocut printmaking! I have some prior experience with this technique from an undergraduate class, where I created a simple design. This time, I wanted to challenge myself by creating a more intricate and cohesive piece. Inspired by my love of frogs, I set out to bring my design to life through linocut printing.
What is Linocut Printmaking?
Linocut is a form of block printing where a design is carved into a linoleum block. Ink is then applied to the surface, and the block is pressed onto paper to create a print. The carved areas remain ink-free, allowing the design to stand out.
Materials Used (All purchased at MONKS):
- Speedball Speedy-Cut Block (4″ x 6″)
- Speedball Lino Cutter
- Speedball Water-Soluble Block Printing Ink
- Tracing Paper
- Newsprint Paper
Process:
- Finding Inspiration – I gathered reference images from Pinterest to help develop my design.
- Sketching the Design – I drew my image on tracing paper, making it easier to transfer and visualize the areas to carve.
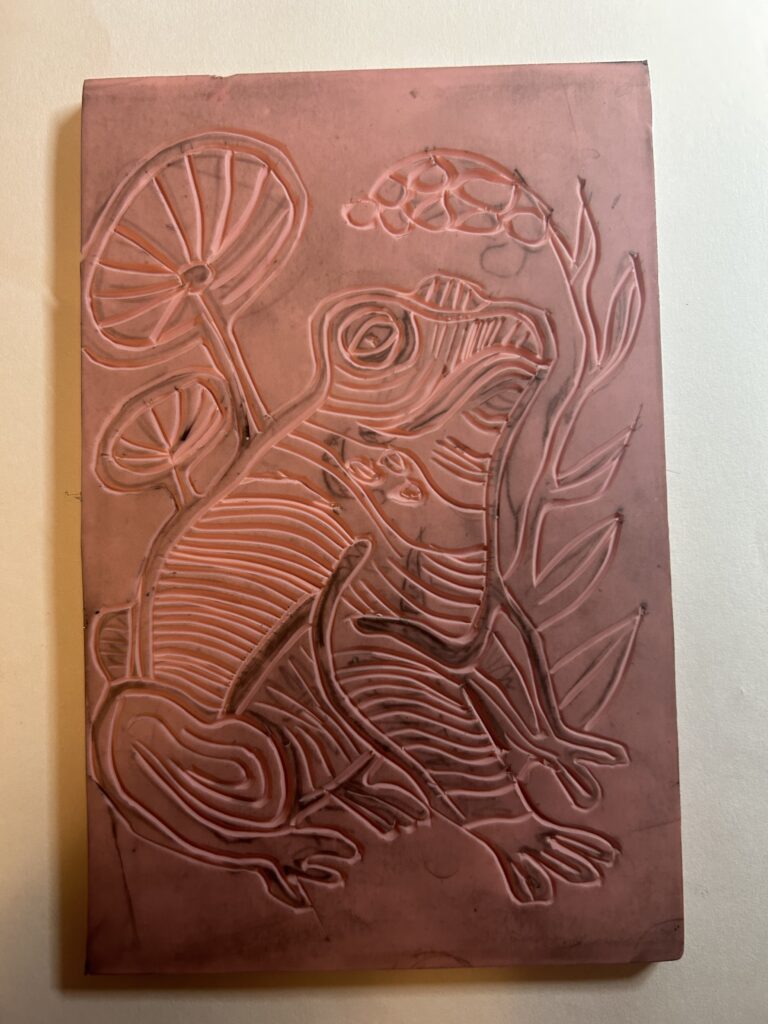
- Transferring the Image – Placing the tracing paper over the linoleum block, I pressed firmly with my palm to transfer the drawing (keeping in mind that the image will be reversed in the final print).
- Carving the Block – Using a lino cutter, I carefully carved where the pencil lines were, ensuring the design stood out.
- Inking the Block – I rolled a thin layer of black ink onto a glass plate and evenly coated the roller, avoiding excess ink buildup.
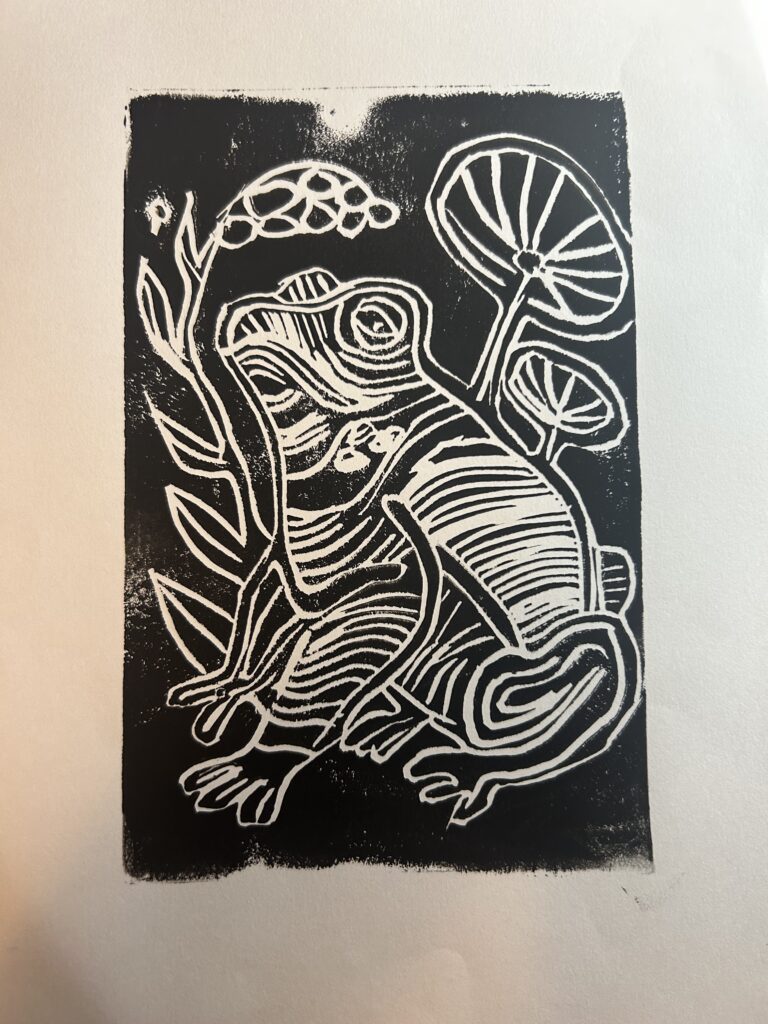
- Printing the Design – I rolled the ink over the carved block, then pressed the block firmly onto a sheet of paper. Using my hands, I applied pressure before carefully peeling the block away to reveal the final print!
I loved experimenting with this process again and am excited to continue refining my technique. Each print has its own unique texture and character, making linocut a rewarding and dynamic art form!