Welcome to my Wordpress Account!

Category: Free Inquiry

This is the category to apply to your Free Inquiry posts.

Reflection on Free Inquiry

Over the semester, I embarked on a journey to spend more time creating art. Art has always been an important part of my life, as I come from a very artistic family where creativity was always encouraged. Growing up, we often made art together, and even today, it remains a meaningful way for us to connect. This personal connection to art has always been a source of joy, but during this semester, I wanted to be more intentional about dedicating time to my creative practice.

I found that setting aside time for art projects provided a much-needed break from schoolwork, allowing me to create a better balance between academics and personal well-being. Engaging in creative expression helped me decompress and reset, making my overall school experience more enjoyable and manageable. It reminded me of the importance of nurturing hobbies alongside responsibilities.

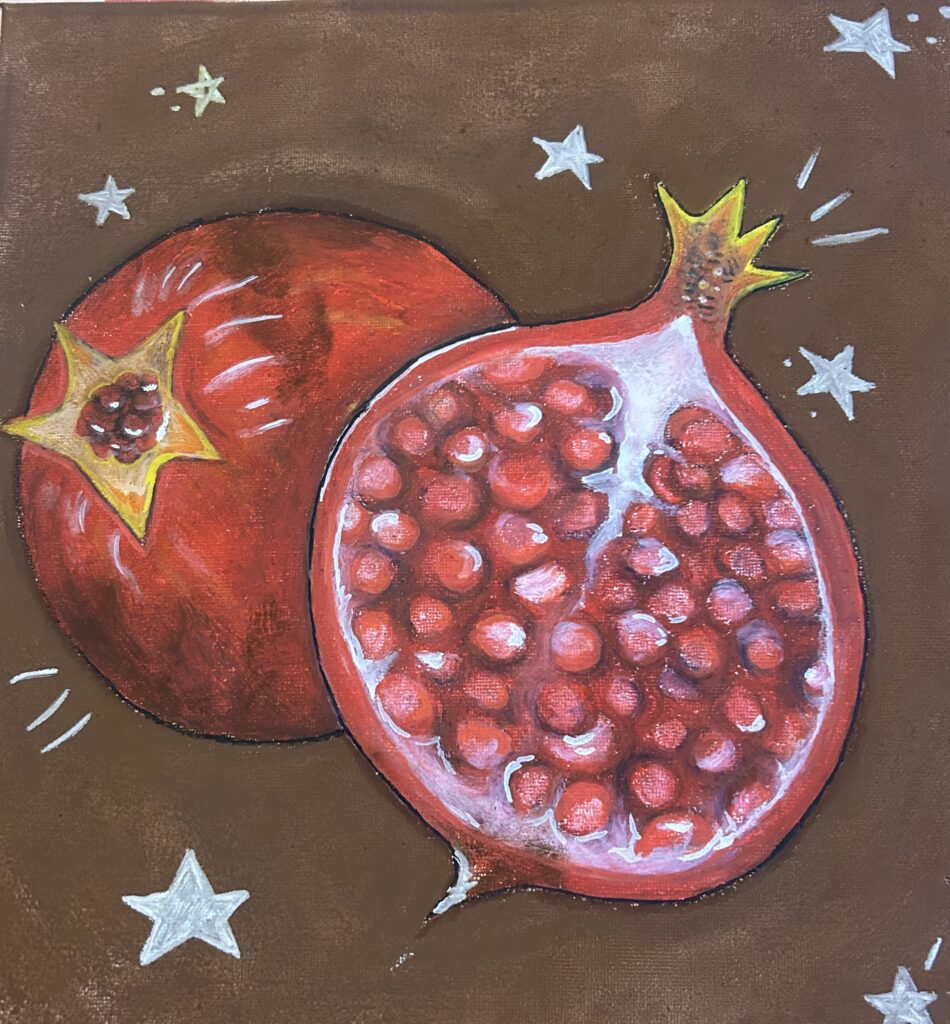
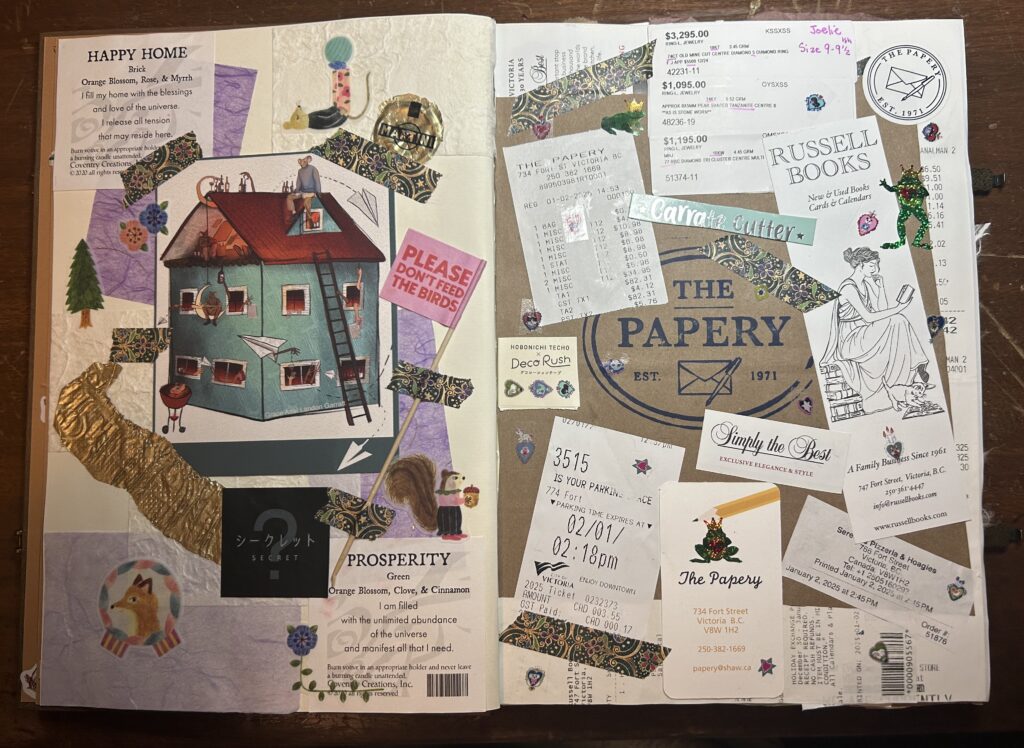
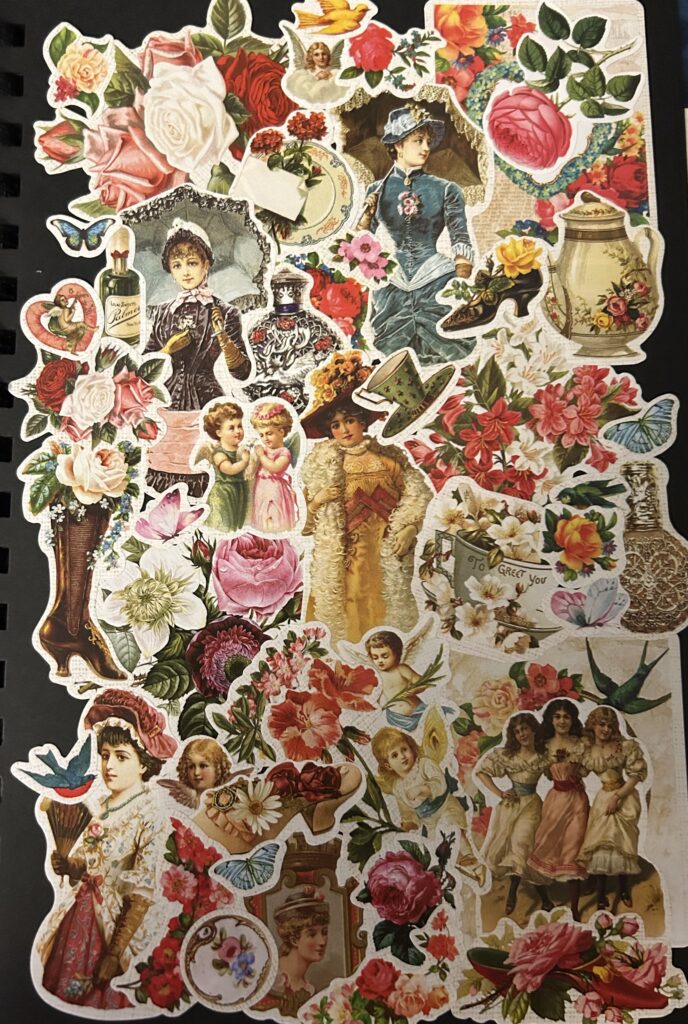
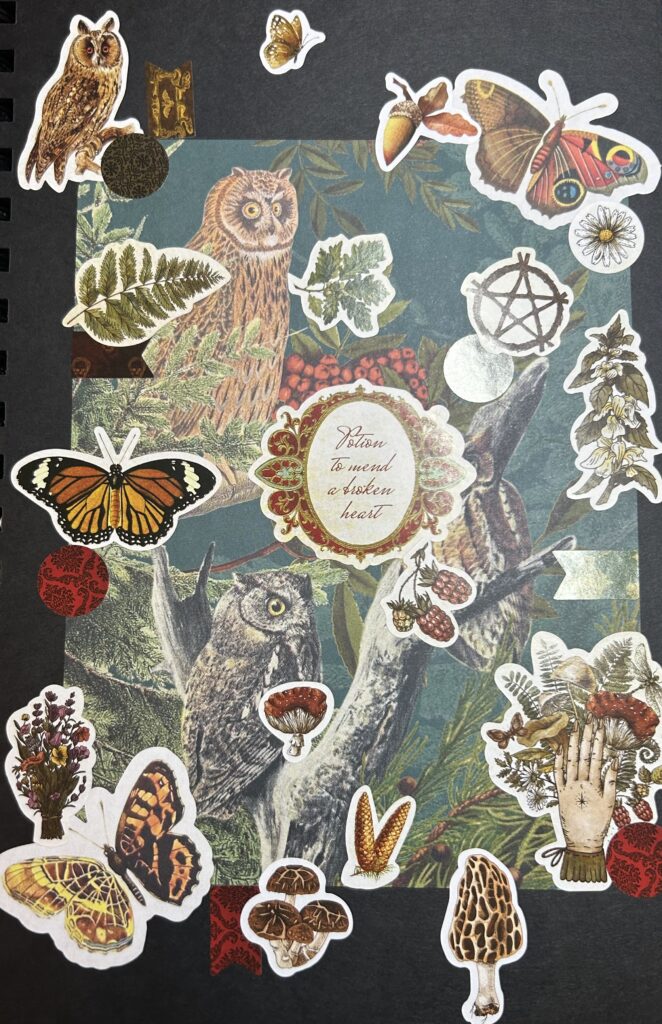
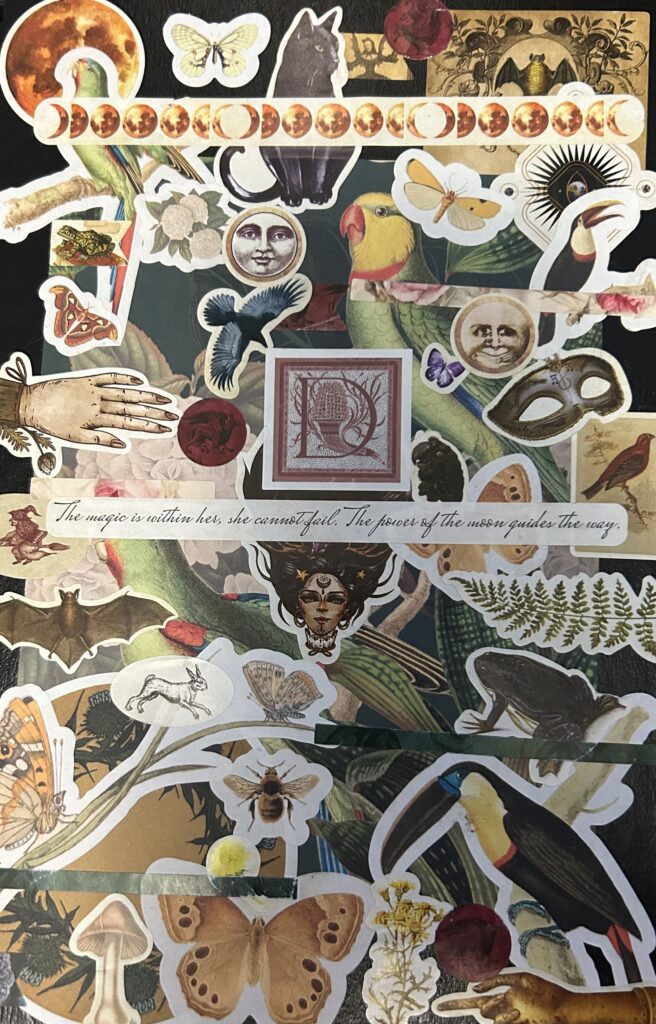
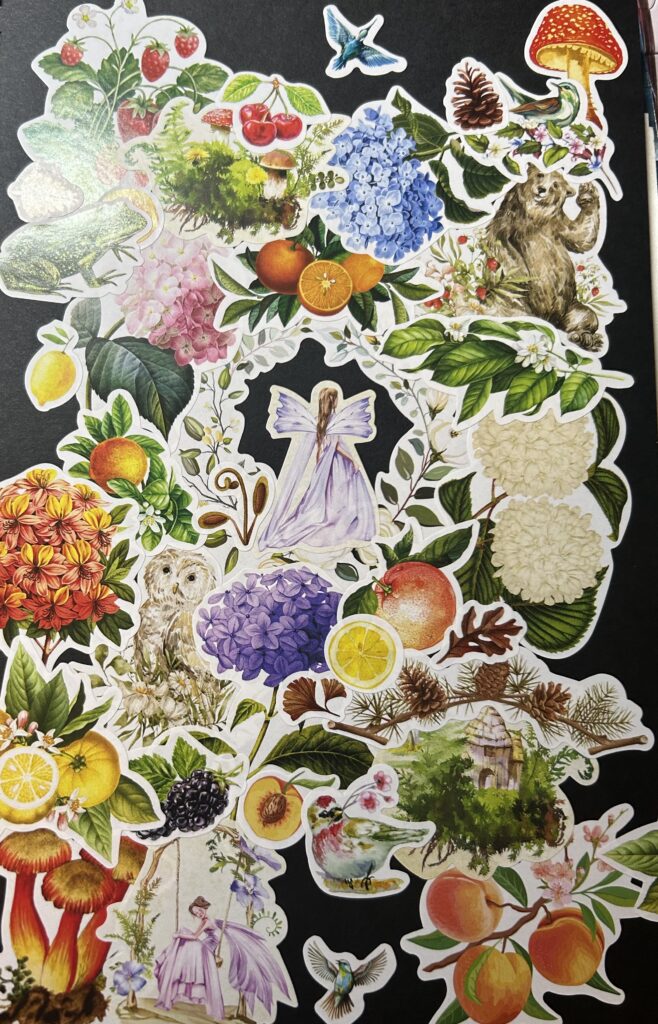
Another rewarding aspect of this process was finally putting my extensive collection of art supplies to use. Over the years, I have accumulated a variety of materials, from paints and pastels to markers and mixed-media tools. Experimenting with different mediums allowed me to explore new techniques and rediscover my love for hands-on creativity.

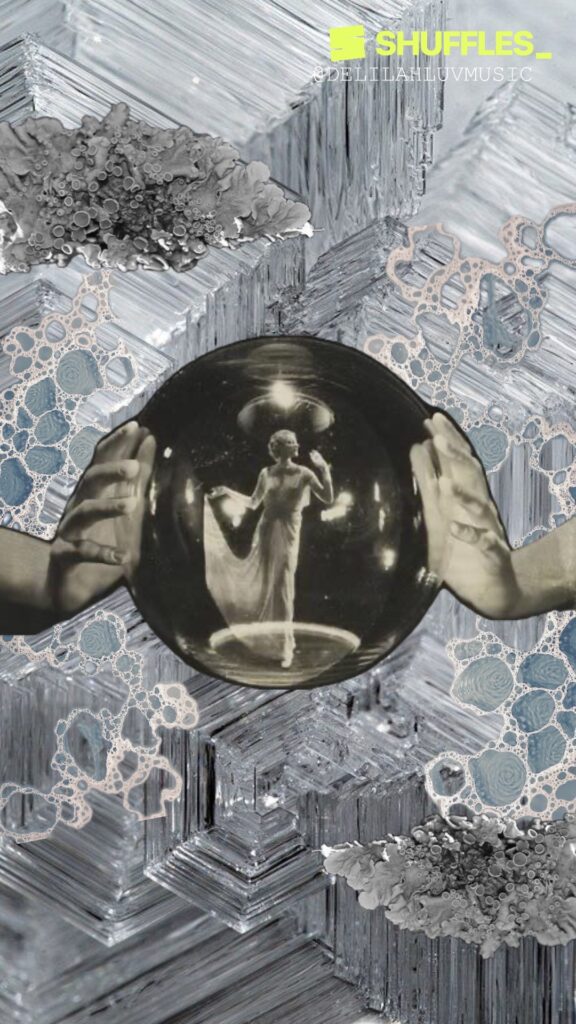
Throughout this journey, I also found inspiration from various online platforms. Watching YouTube tutorials, scrolling through Pinterest, and exploring TikTok videos introduced me to new ideas and approaches I might not have considered on my own. These resources not only sparked creativity but also provided guidance on how to bring my ideas to life. Whether it was learning a new painting technique or discovering a fresh way to use collage, these platforms played a key role in shaping my artistic exploration.

Overall, this inquiry into making more time for art reaffirmed how much creativity enriches my life. It has reminded me of the joy of making, the importance of balance, and the endless possibilities that come with exploring new artistic avenues. I plan to continue prioritizing art in my life, not just as a form of self-expression but also as a way to stay grounded and inspired.

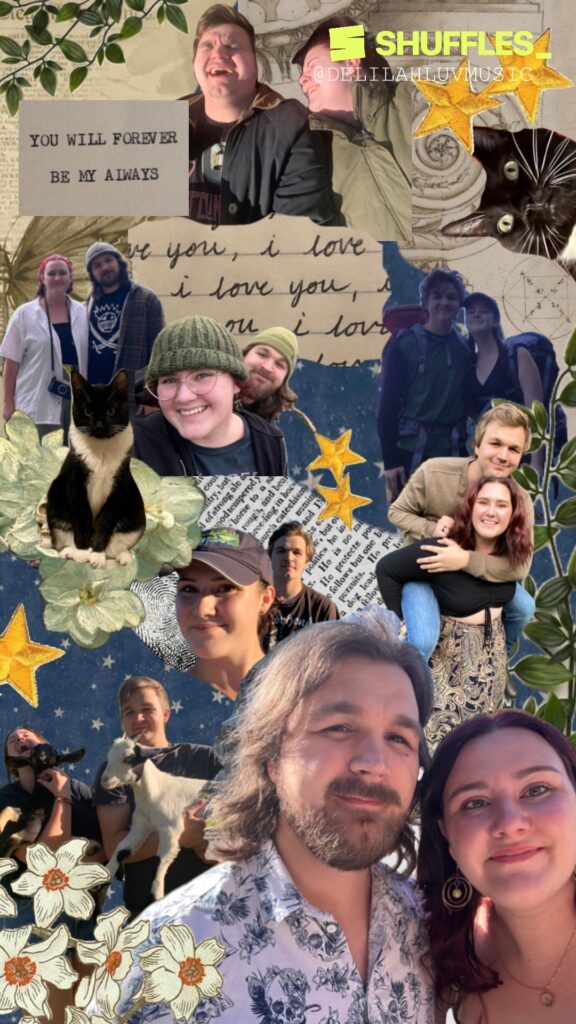
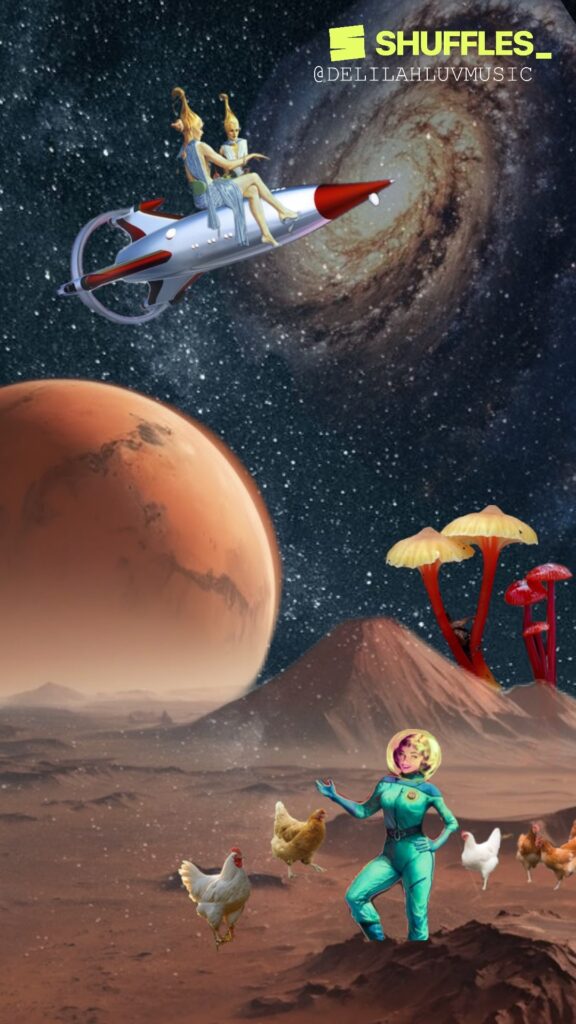
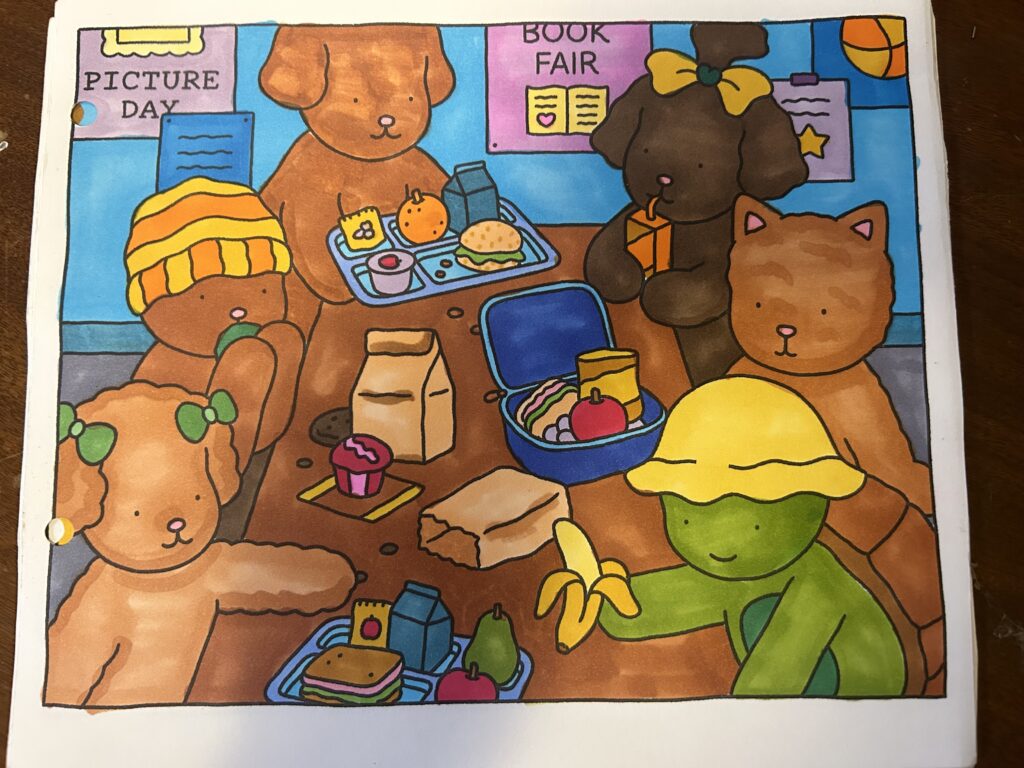
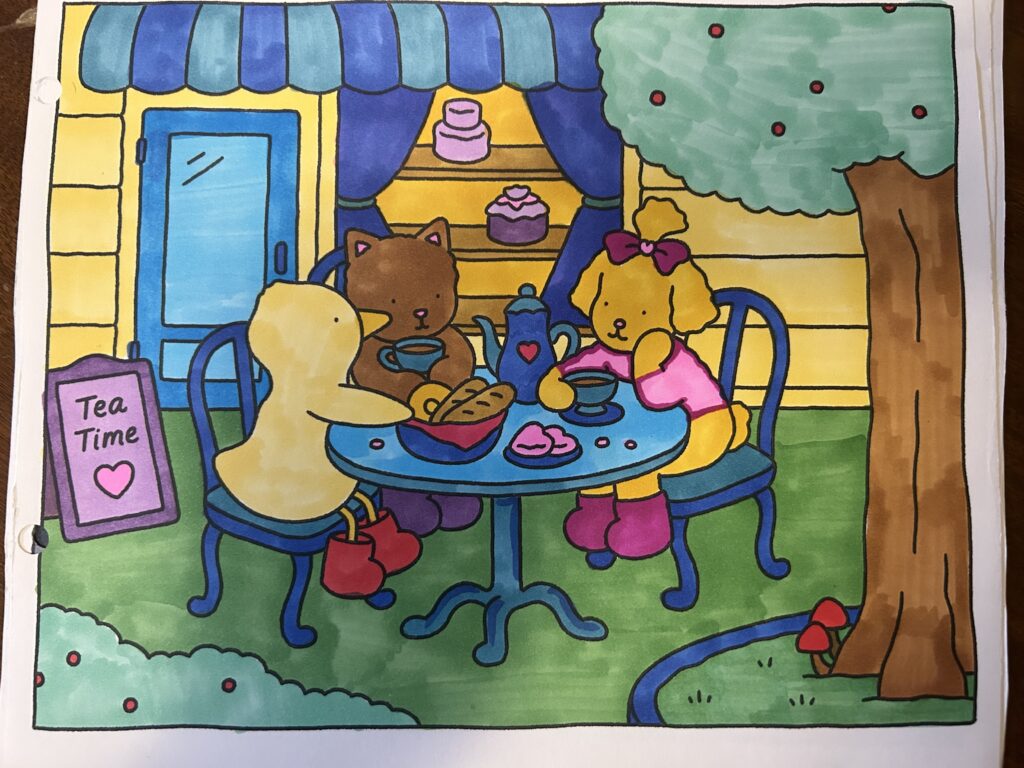
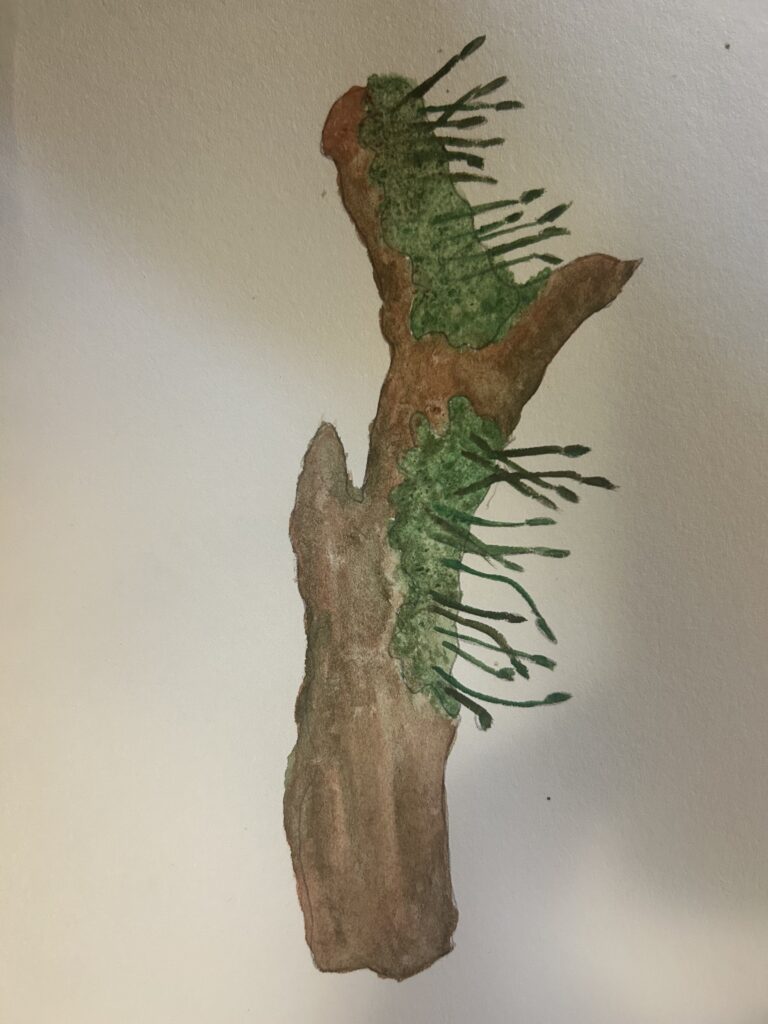
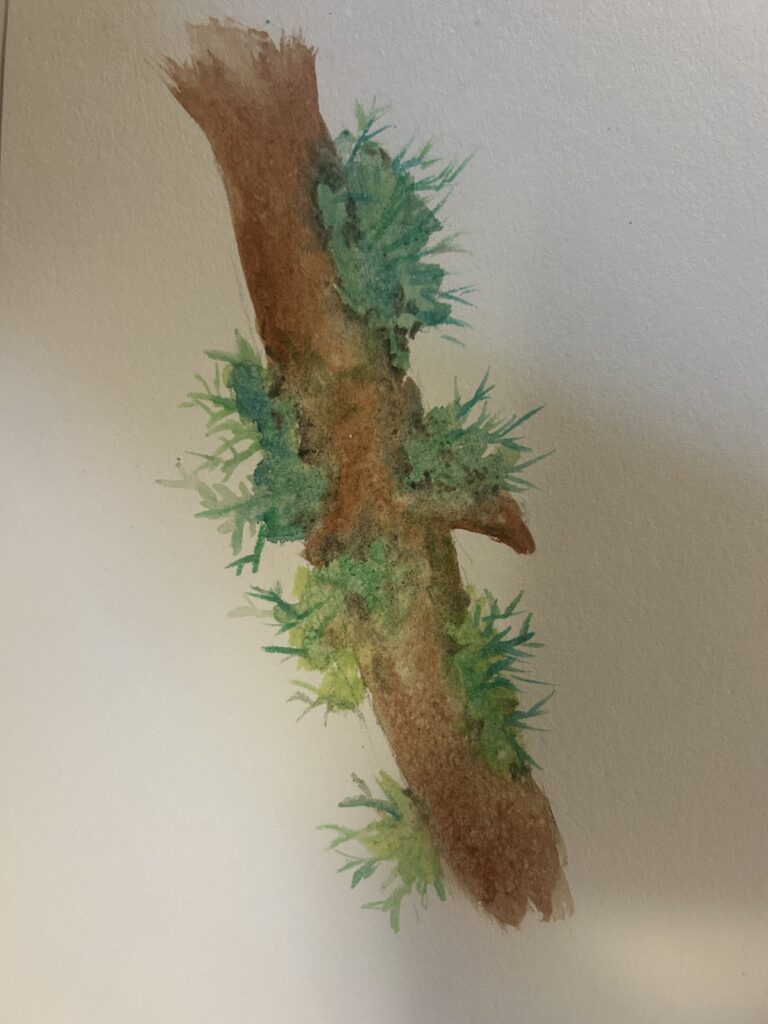
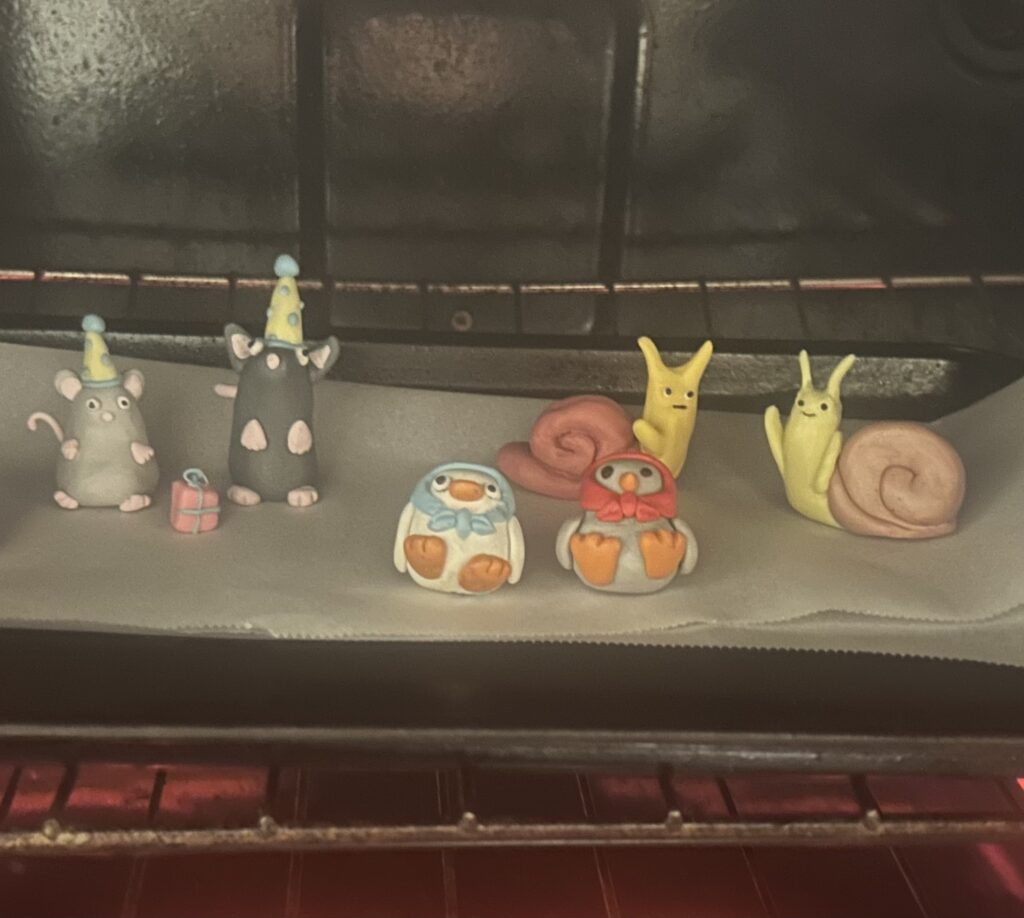
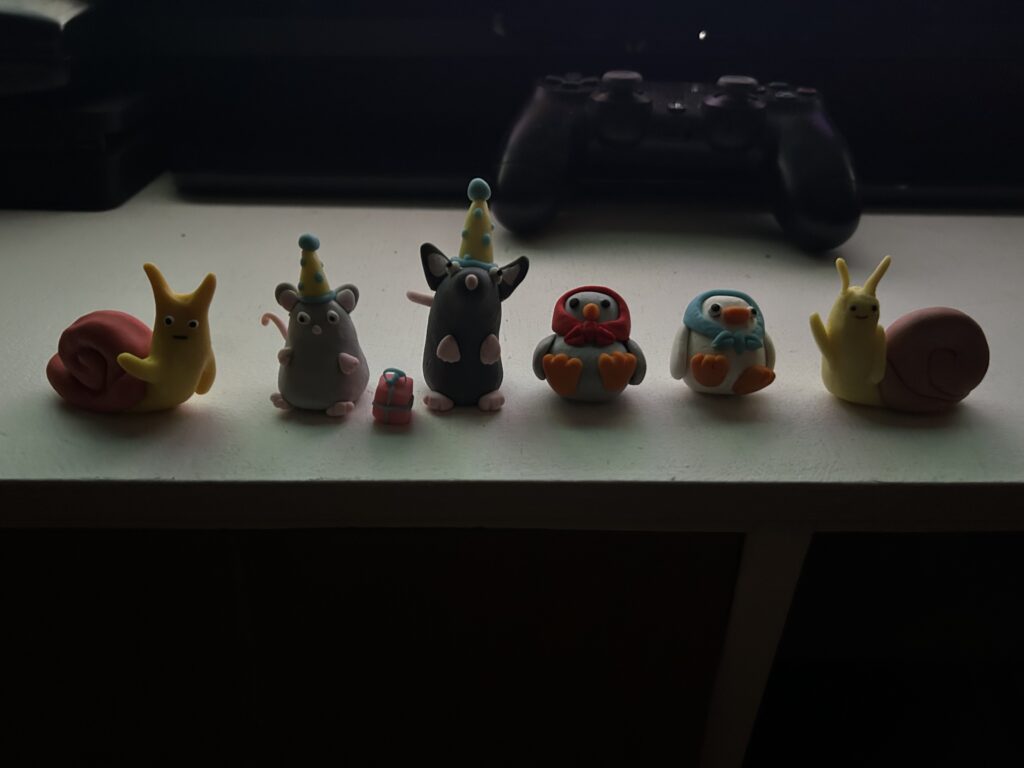
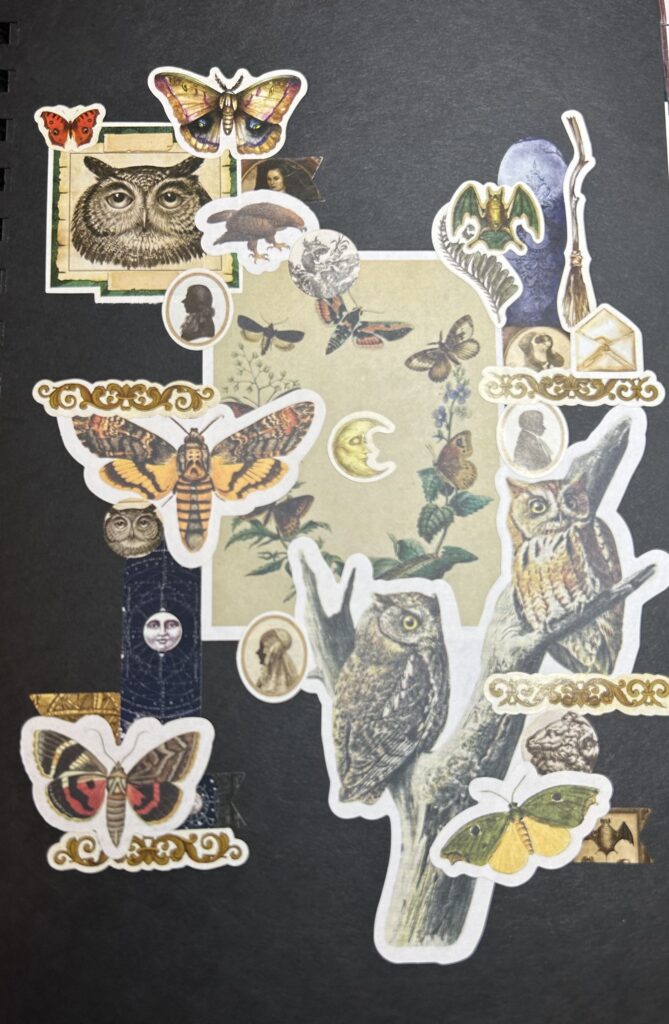
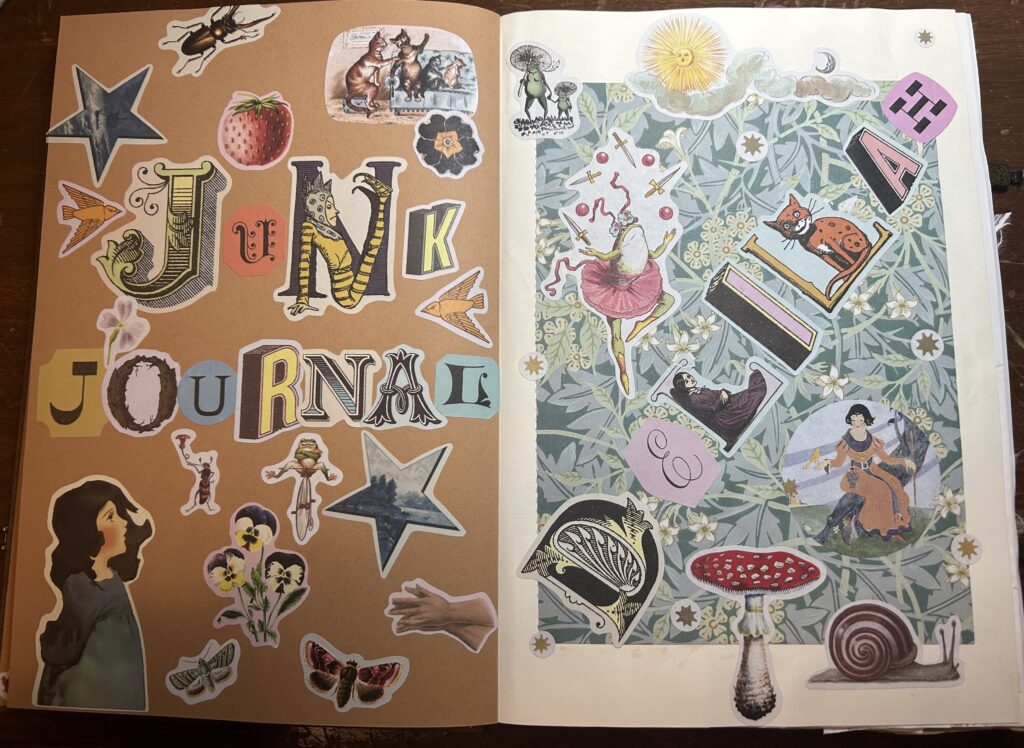
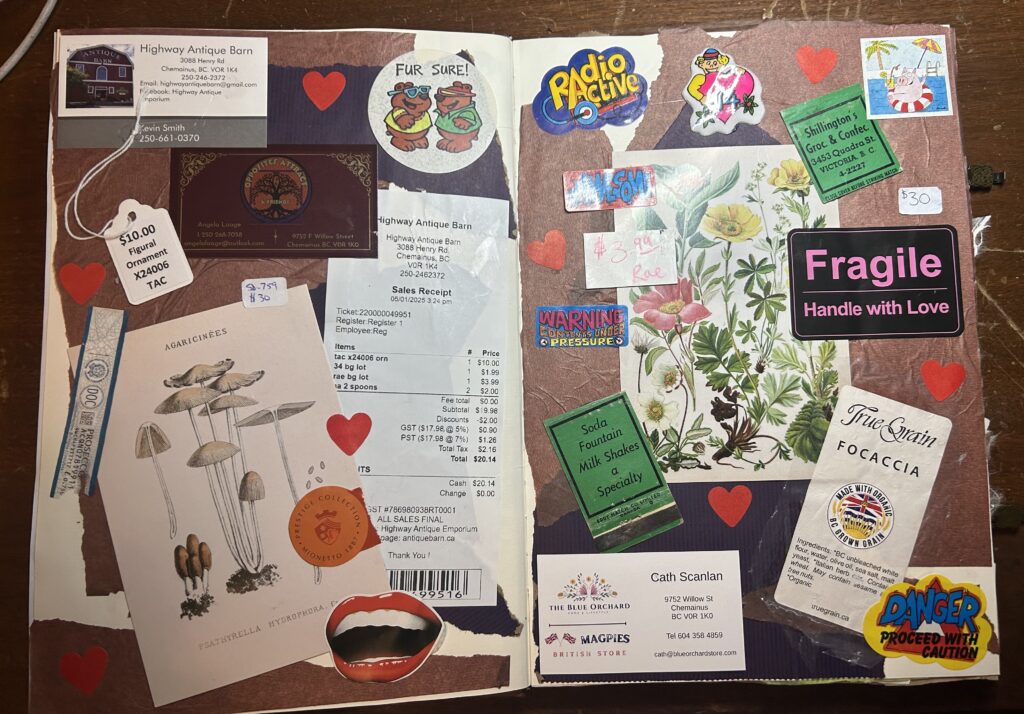
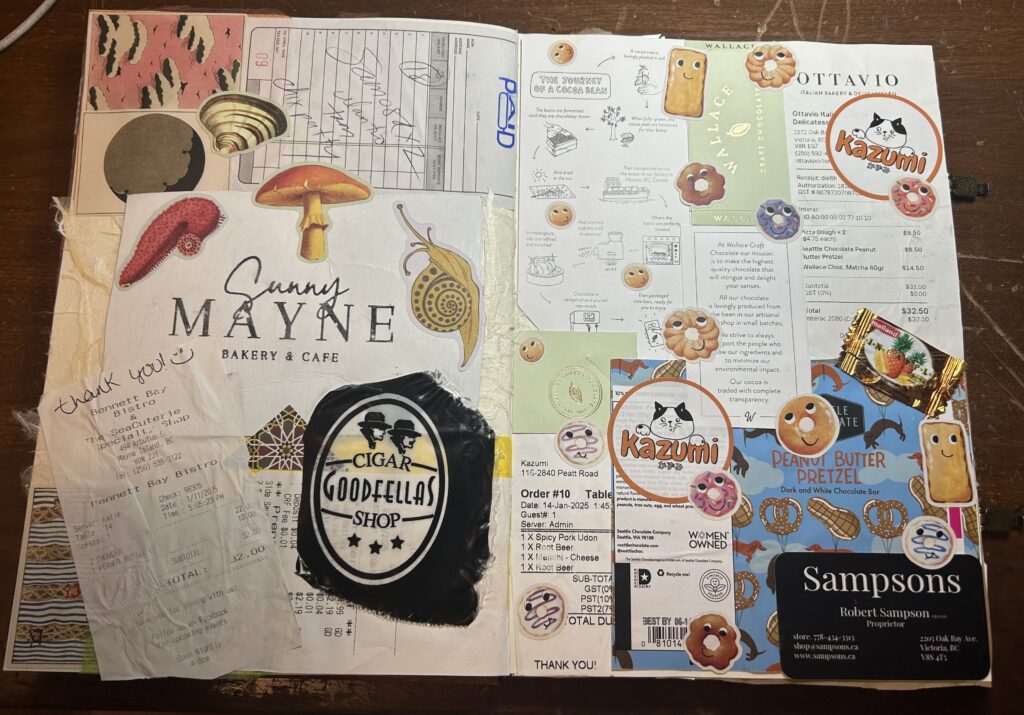
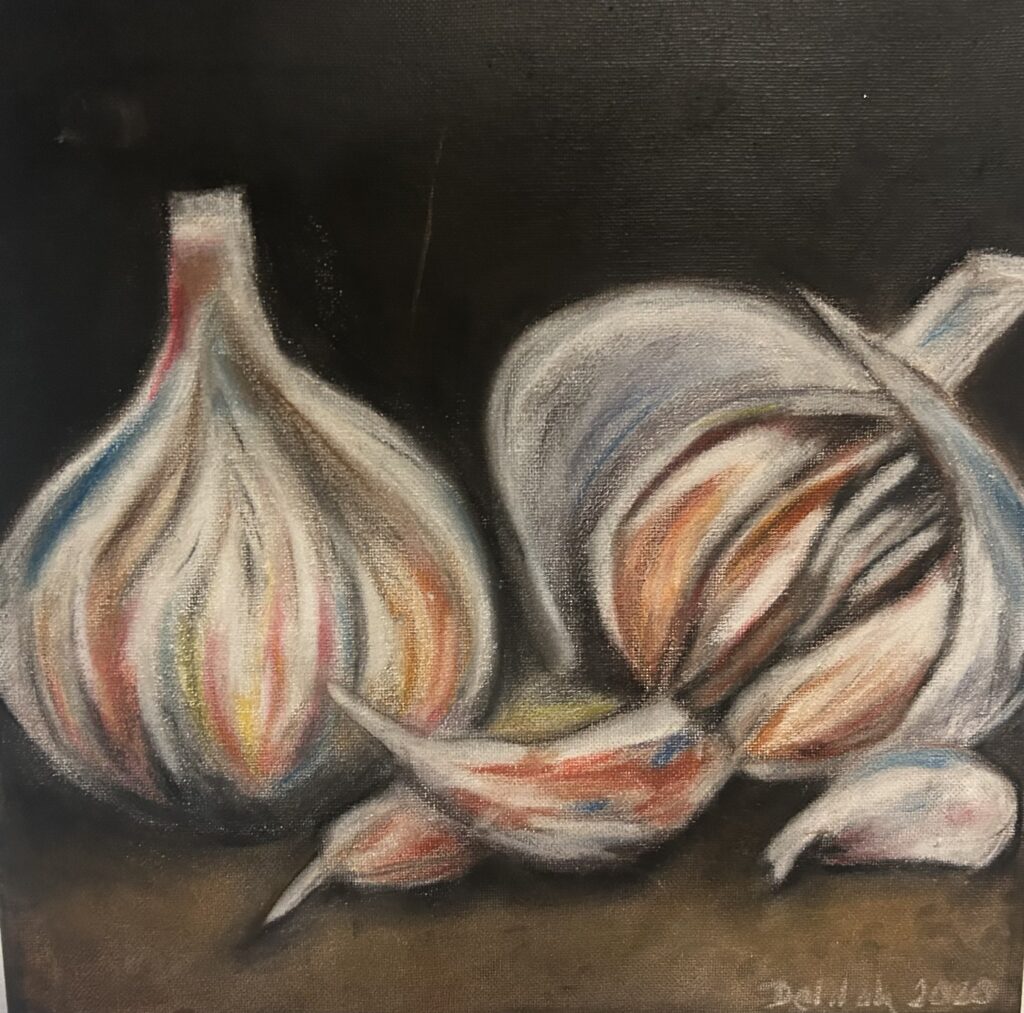
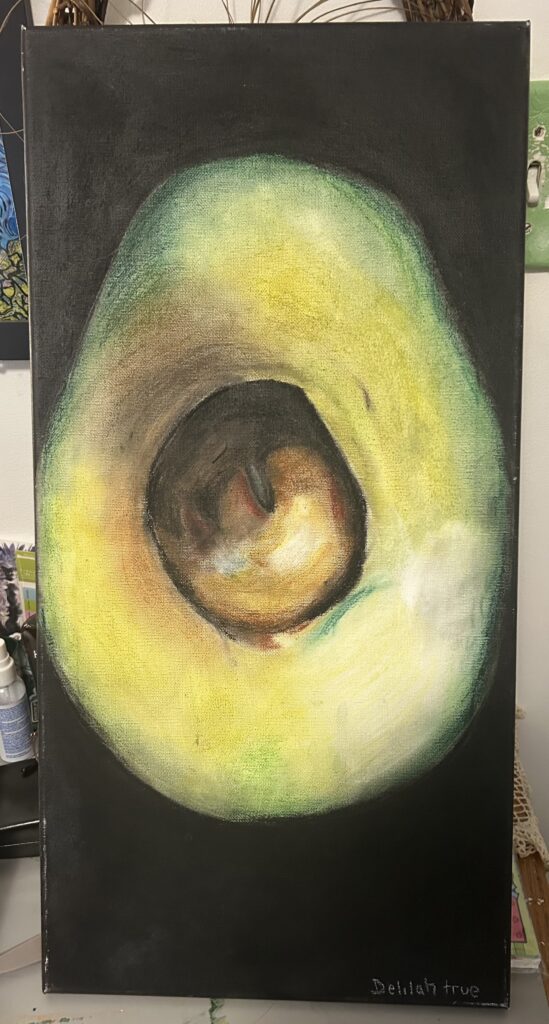
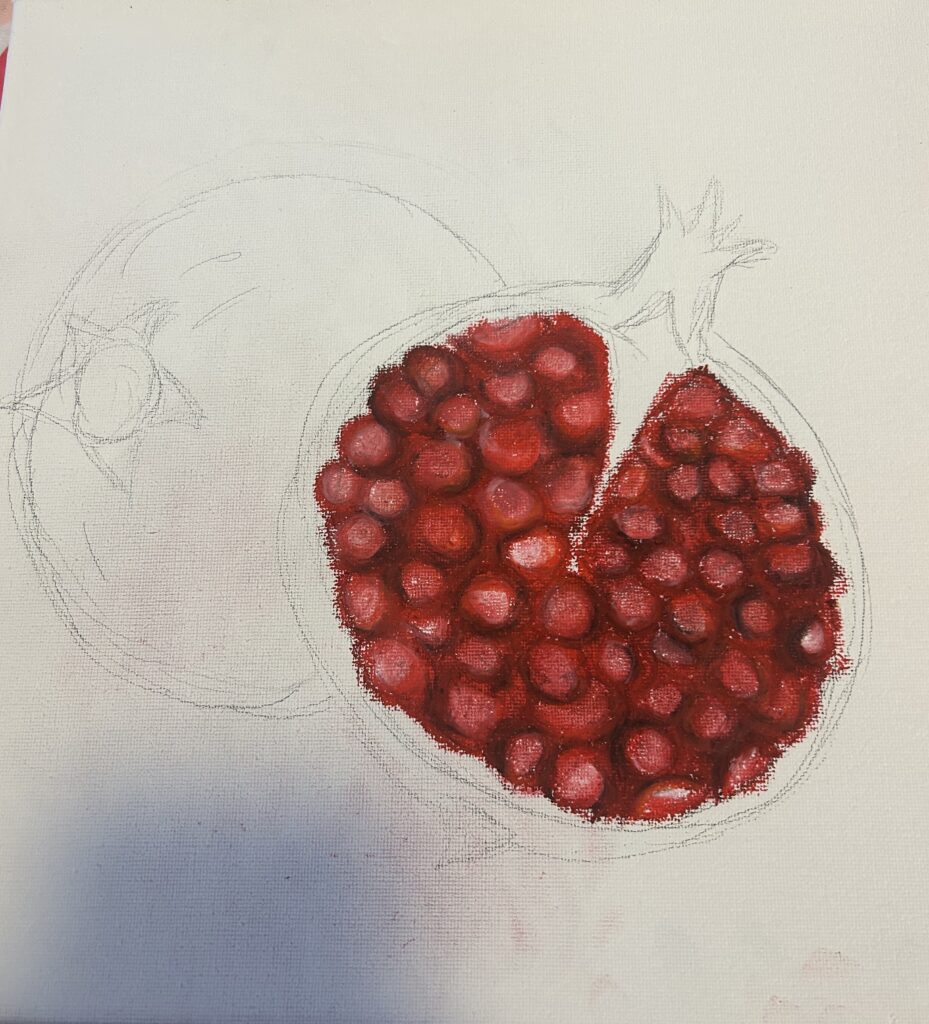
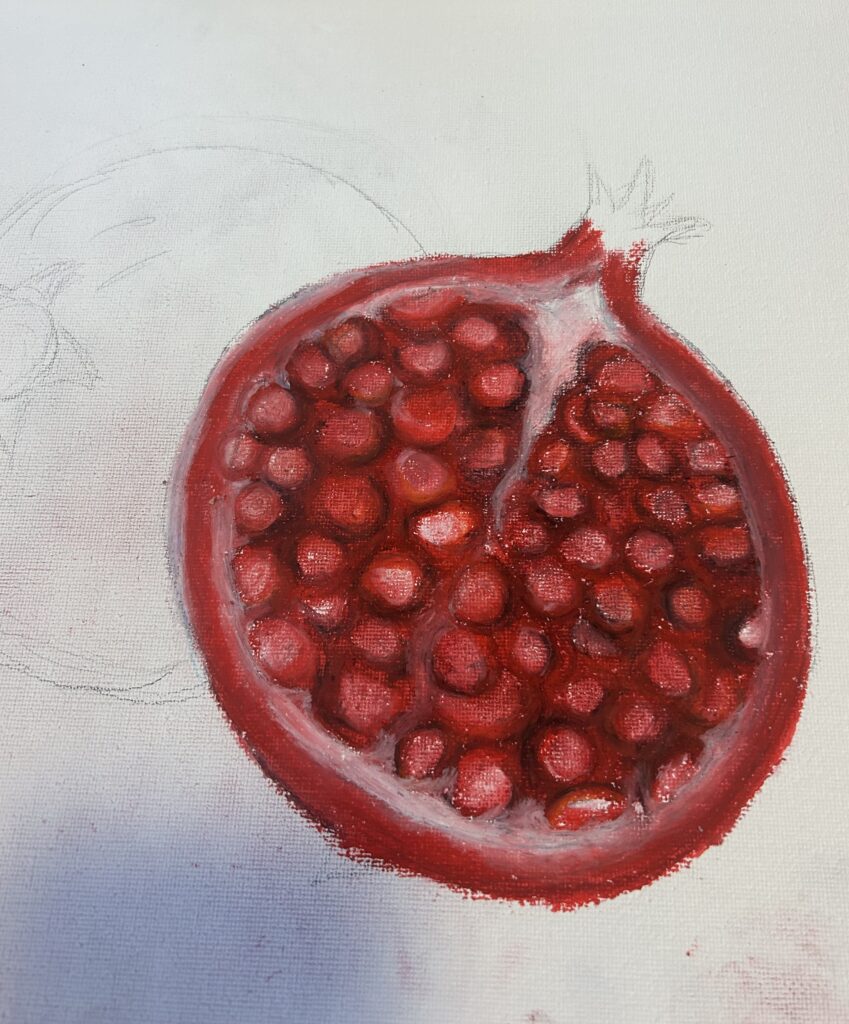
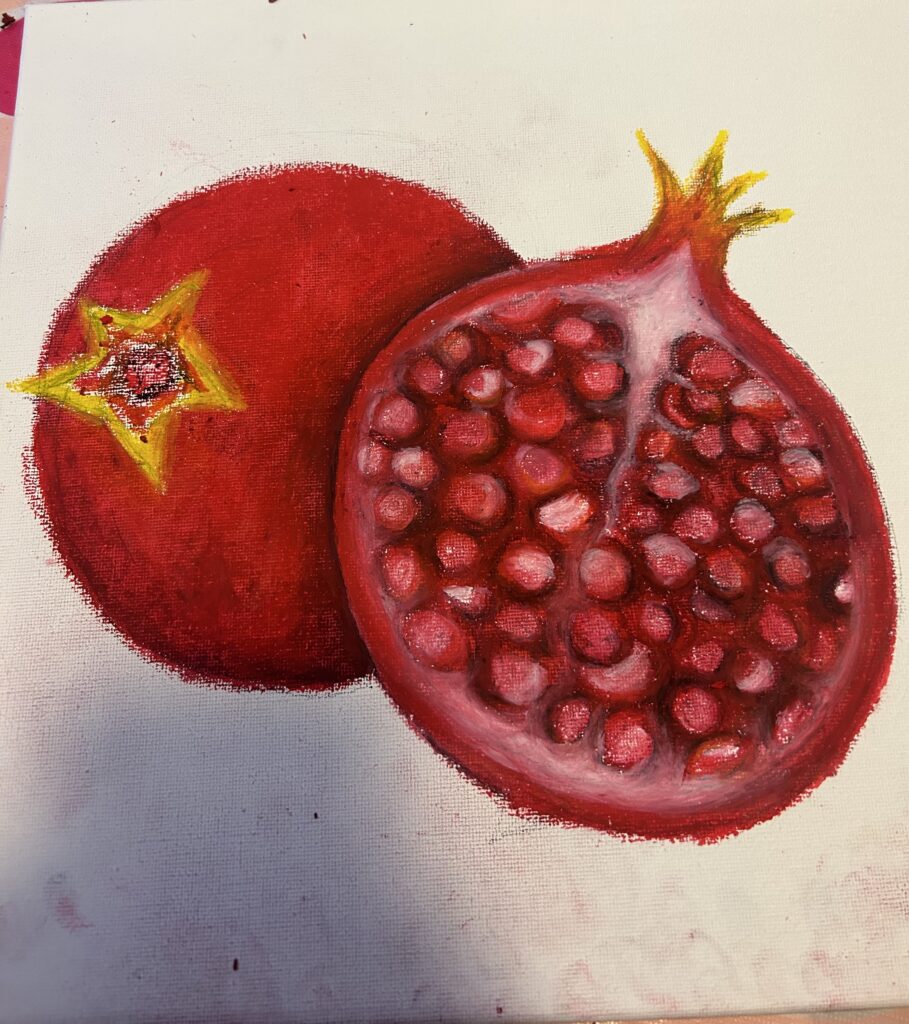
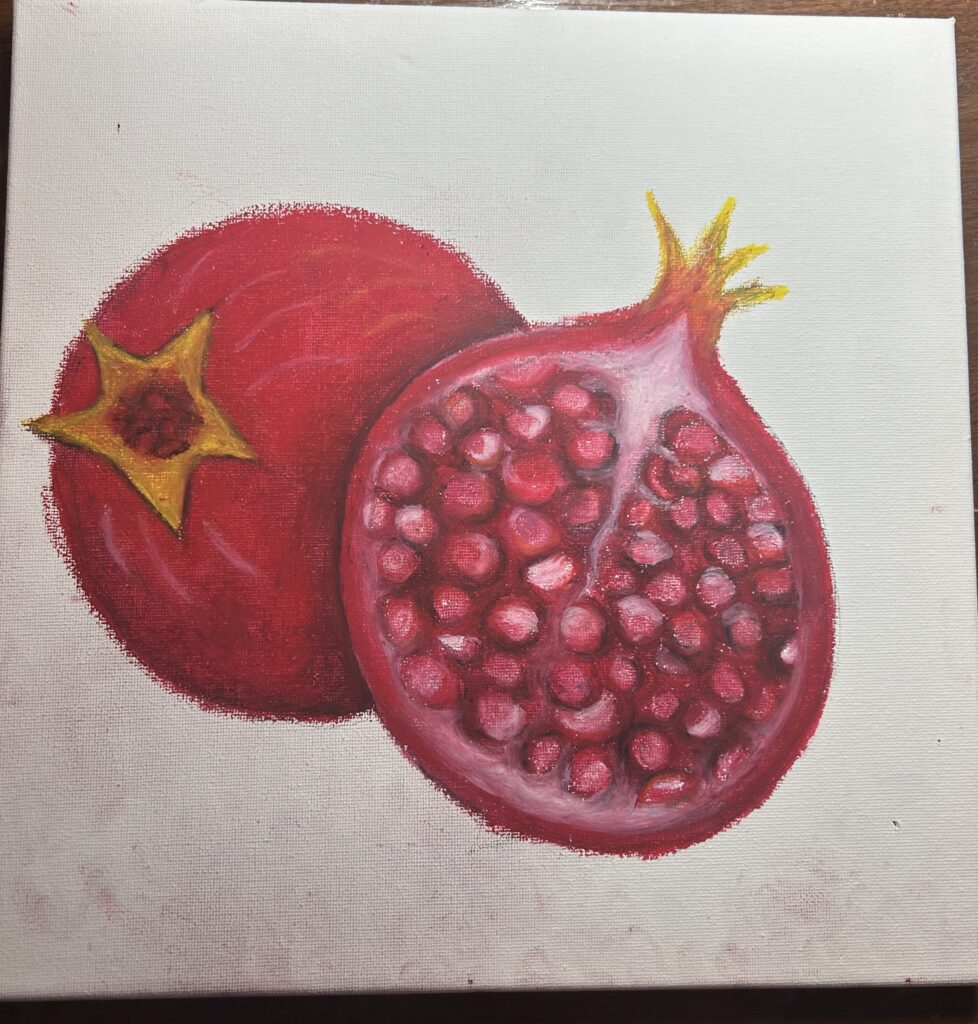
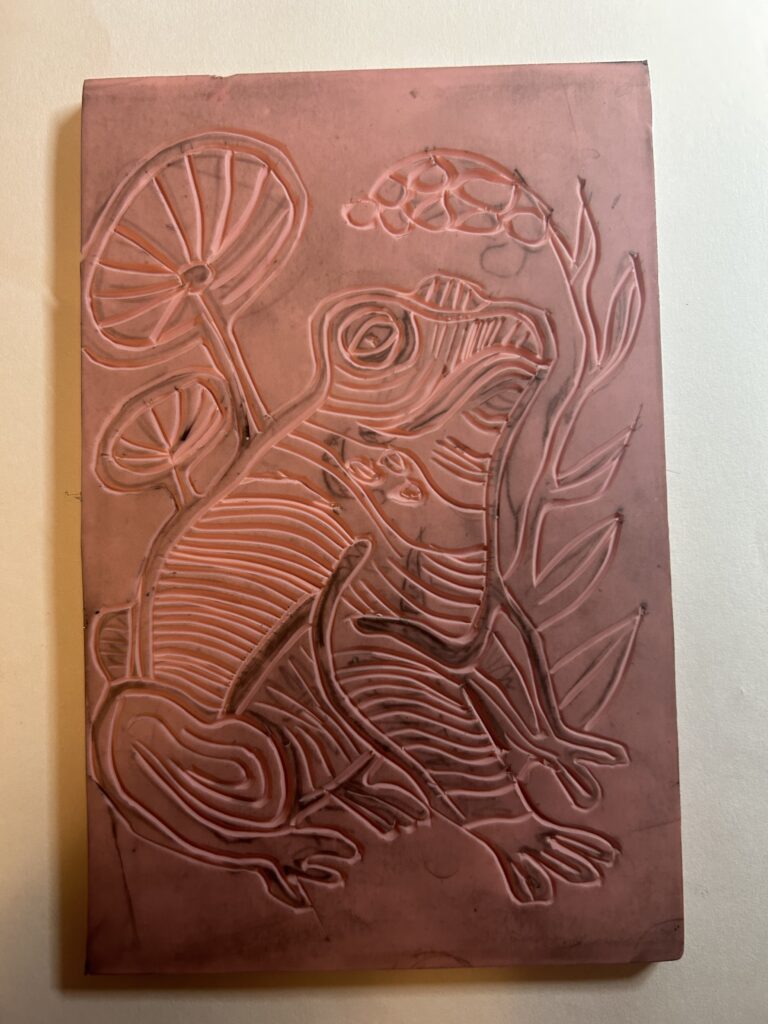
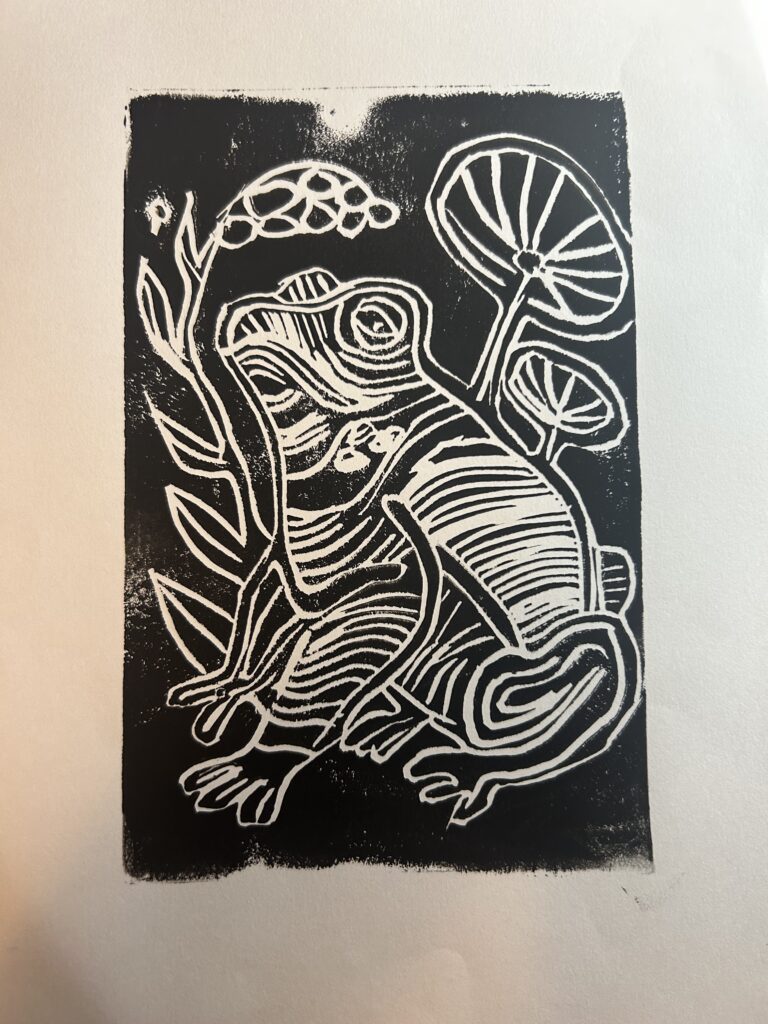
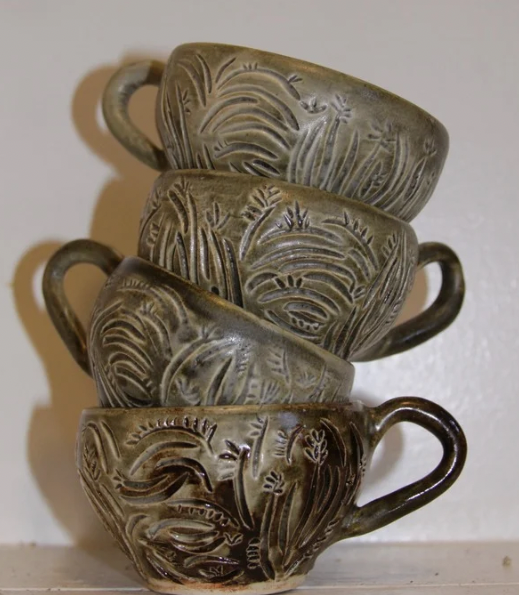
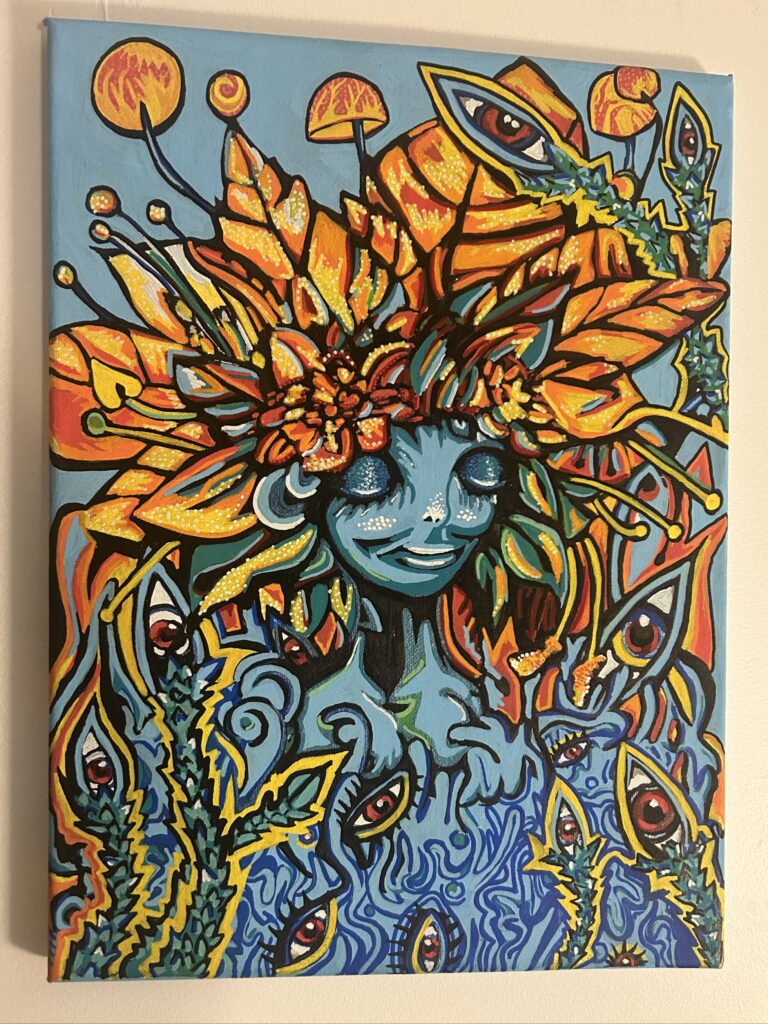
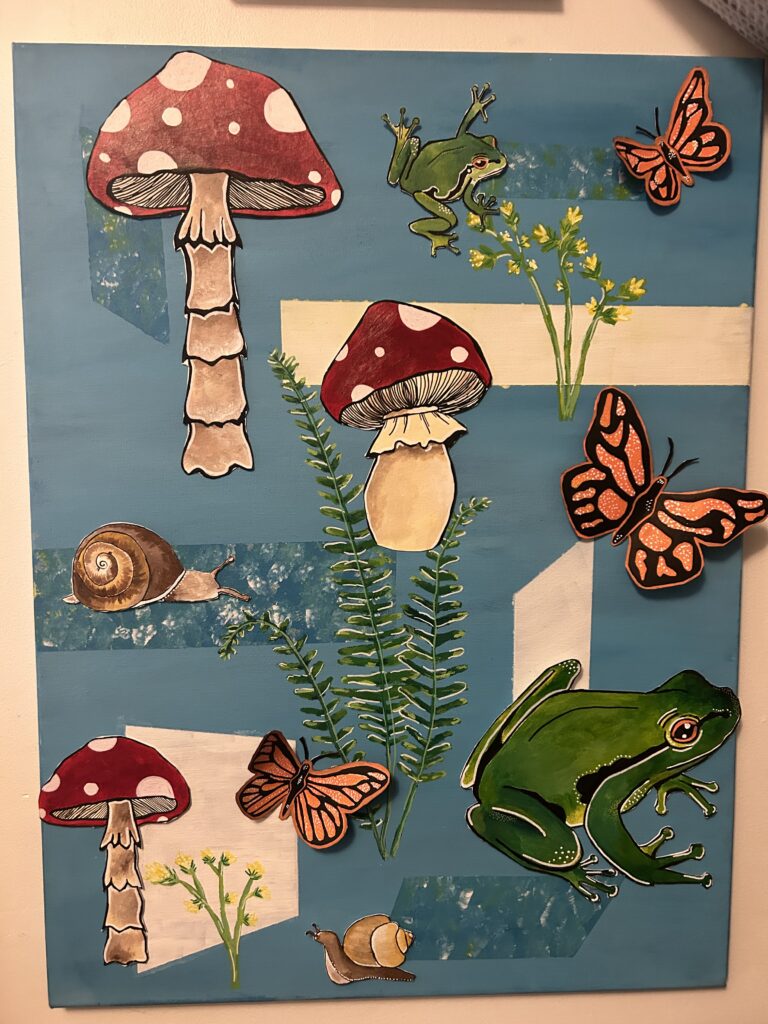
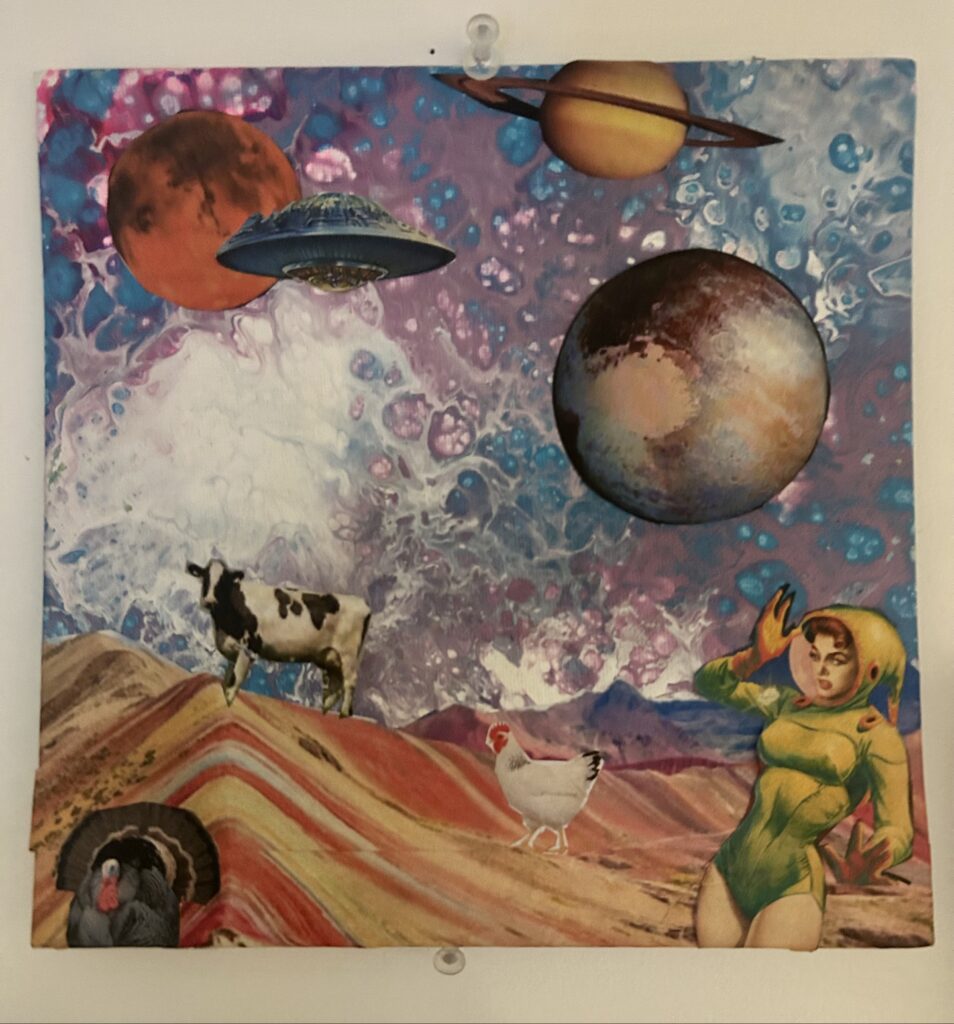
Examples of work created during the semester:

Digital Collage

Today, I explored using the app Shuffles on my phone to create digital collages. Shuffles is a creative app by Pinterest that allows users to combine images, text, and stickers to design unique visual compositions. One of the features I enjoyed was the ability to cut out elements from photos easily and layer them to create dynamic collages. The app also offers animations, effects, and the ability to remix other users’ collages, making it a fun and interactive tool for digital creativity.

Materials:

  • A smartphone or tablet with the Shuffles app installed
  • Access to Pinterest (optional for saving and importing images)
  • A collection of photos, stickers, or text ideas for the collage

Steps:

  1. Open the App – Launch the Shuffles app and sign in or create an account if needed.
  2. Gather Images – Import images from your phone’s gallery, search on Pinterest, or use the app’s built-in sticker library.
  3. Cut Out Elements – Use the auto cutout tool or manually select areas of images to remove backgrounds and isolate subjects.
  4. Arrange & Layer – Drag, resize, and rotate elements to compose your collage. You can layer multiple images for a textured effect.
  5. Add Effects – Experiment with shadows, animations, and blending modes to enhance the collage.
  6. Include Text – Add quotes, captions, or keywords using different fonts and styles.
  7. Save & Share – Once satisfied with the design, save it to your device or share it directly on Pinterest and social media.

For my first collage, I used images from my phone featuring me, my partner, and my cat, Pokku! For my second collage, I drew inspiration from textures, layering different elements to create a rich, tactile feel. For my final collage, I explored an outer space theme. I found that Shuffles is an excellent tool for experimenting with digital art, and I’m excited to explore more ways to integrate it into creative projects!

Colouring Books

Over the last little bit, I have been doing colouring books!

Why Colouring Books?

Coloring books are a great way to relax and unwind. The repetitive motion and focus on colors can be very calming, helping to reduce stress and promote mindfulness. It’s also a fun way to express creativity without the pressure of creating something from scratch!

Materials

  • Ohuhu Alcohol Markers – for smooth, vibrant coloring
  • Cozy Friends: Coloring Book – filled with adorable designs to color
  • Blender Marker (optional) – for seamless blending
  • Scrap Paper – to test colors before using them on the page

Steps

  1. Choose a design – Pick a page from the coloring book that inspires you.
  2. Plan your colors – Select a color palette that fits the mood or theme you want.
  3. Start with lighter colors – Alcohol markers layer well, so begin with light shades and build up darker tones.
  4. Blend carefully – Use similar colors to create smooth transitions, or a blender marker for soft effects.
  5. Add details – Use fine tips or layering to add shadows and highlights.
  6. Enjoy the process! – Take your time and have fun with it.

Colouring has been a cozy and relaxing way to unwind, and I love seeing the pages come to life with colour!

Watercolour

This week, I was inspired by nature to create some watercolour paintings!

What is Watercolour?

Watercolour is a painting technique that uses pigments mixed with water to create soft, transparent layers of colour. It is known for its fluid and delicate effects, allowing artists to blend and layer colors beautifully.

Materials

  • Watercolor paper
  • Watercolor paints
  • Paintbrushes (round and flat)
  • A cup of water
  • Paper towel or cloth
  • Pencil (for sketching)
  • Palette (for mixing colors)

Steps

  1. Sketch your subject – Lightly draw your design on watercolor paper.
  2. Prepare your colors – Mix your watercolor paints with water on the palette.
  3. Start with light washes – Apply the lightest colors first, letting each layer dry before adding more details.
  4. Build up layers – Gradually add darker colors and details for depth.
  5. Add finishing touches – Use a fine brush for highlights and small details.
  6. Let it dry – Once finished, allow your painting to dry completely before handling.

For my paintings, I chose to capture the beauty of snowberries, moss, and lichens. Each element reflects the intricate textures and colours found in nature, making them perfect subjects for watercolour exploration!

Exploring Polymer Clay: Creating Animal Sculptures

This week for my art inquiry, my partner and I made polymer clay animals! It was such a fun and hands-on experience that allowed us to explore sculpting, creativity, and fine motor skills.

What is Polymer Clay?

Polymer clay is a versatile, oven-bake modeling material made from PVC (polyvinyl chloride) and plasticizers. It remains soft until baked, allowing artists to mold and shape it into intricate designs. Once cured in an oven, polymer clay hardens into a durable, lightweight form, making it perfect for sculptures, jewelry, and decorative crafts.

Materials Used

  • Polymer clay (various colors)
  • Clay tools (sculpting knives, shaping tools, toothpicks)
  • Rolling pin or acrylic roller
  • Baking sheet
  • Oven (for curing the clay)
  • Gloss glaze or varnish (optional, for a shiny finish)

Steps to Making Polymer Clay Animals:

  1. Look Up Animals on Pinterest: Before starting, we searched Pinterest for inspiration and decided on the colors and details.
  2. Condition the Clay: Polymer clay needs to be softened before sculpting. We kneaded it thoroughly to make it pliable.
  3. Shape the Basic Forms: We started with simple shapesβ€”spheres for heads, cylinders for bodies, and smaller pieces for legs and tails.
  4. Add Details: Using sculpting tools and toothpicks, we added texture for fur, scales, or facial features.
  5. Assemble the Parts: We carefully attached different parts of our animals, blending seams to make them look seamless.
  6. Bake the Sculptures: Following the instructions on the polymer clay packaging, we baked our sculptures at the recommended temperature.
  7. Finishing Touches: Once cooled, we added a glossy varnish for shine and extra durability.

Final Results

It was exciting to see our creations come to life! Working with polymer clay allowed us to experiment with different textures and forms while honing our artistic skills. This project was a great reminder that art can be both playful and technical, offering endless possibilities for creativity.

Sticker Collaging

Over the last few weeks, I have been playing around with sticker collaging! I absolutely love stickers, so I wanted to experiment with using them to create layered and textured collages in my journal.

What is Sticker Collaging?

Sticker collaging is the process of creating layered, textured artwork using a variety of stickers. Instead of traditional collage methods like cutting and pasting magazine images or paper, sticker collaging uses stickers as the main medium to build a visual story or aesthetic. You can layer stickers, combine different themes, and even mix them with other materials like paint, washi tape, or pressed flowers to add more texture and depth.

Materials I Used

Here’s what I used to get started with my sticker collages:

  • Journal – Any sketchbook or journal works great! I used a black blank-page journal to give myself more freedom with layout and design.
  • Sticker Books – I primarily used:
  • Scissors (optional) – If you want to cut stickers or trim edges.
  • Washi Tape (optional) – Great for adding extra texture and framing your collage.
Sticker Book Recomondations

Steps to Create a Sticker Collage

1. Gather Your Stickers and Journal
Start by flipping through your sticker books and pulling out stickers that inspire you. You can create a theme (like nature, vintage, or celestial) or simply choose stickers that catch your eye.

2. Plan Your Layout (Optional)
If you like planning, lay out a few stickers on your journal page without sticking them down yet. This will give you an idea of how your collage will look. If you prefer to be spontaneous, go ahead and start sticking!

3. Start Layering
Begin with your larger stickers or background stickers (like old letters, postcards, or patterns). Stick them down first to create a base layer.
Next, layer smaller stickers on top to build dimension. Try overlapping stickers or letting some stickers peek out from behind others to create visual interest.

4. Add Texture and Details
If you have washi tape, pressed flowers, or small paper scraps, you can add those elements to your collage for extra texture. I love using washi tape along the edges to frame my collage.5. Fill in Blank Spaces
If there are any awkward blank spaces, use smaller stickers like butterflies, stamps, or florals to fill them in. This helps make your collage feel complete and balanced.

My Results

Junk Journaling

Over the past few weeks, I’ve been immersing myself in junk journaling, creating collages with materials gathered from my daily life!

What is Junk journaling?

Junk journaling is a creative and expressive way to capture memories, thoughts, and inspiration by repurposing everyday items. Blending elements of scrapbooking, journaling, and collage, it transforms found objects into unique and deeply personal pages.

Junk journal tutorial

Materials Used in Junk Journaling:

  • Paper Scraps β€“ Old book pages, magazine clippings, newspaper, wrapping paper, and maps.
  • Ephemera β€“ Tickets, postcards, receipts, letters, and tags.
  • Fabric & Textiles β€“ Scraps of fabric, lace, ribbon, or pressed flowers.
  • Writing Tools β€“ Pens, markers, stamps, stickers, and washi tape.
  • Adhesives β€“ Glue sticks, double-sided tape, and Mod Podge.

Steps for Junk Journaling:

  1. Collect Materials β€“ Gather interesting paper, notes, or textures from your daily life.
  2. Choose a Theme β€“ Decide on a mood, memory, or idea for your page.
  3. Layer & Arrange β€“ Experiment with layouts, layering different textures and materials.
  4. Glue & Secure β€“ Once satisfied with the design, adhere pieces to the page.
  5. Add Writing & Details β€“ Include journaling, doodles, or embellishments to personalize.
  6. Review & Reflect β€“ Flip through your pages, appreciating the stories they tell.

Pastels

This week, I experimented with pastels! I have some experience with them and have previously painted various fruits and vegetables. Wanting to expand my collection, I decided to draw a pomegranate. Below are two of my past works.

What is pastel painting?

Pastel painting is a technique that uses soft, pigment-rich sticks to create vibrant, textured artwork. Pastels blend easily, allowing for rich color layering and smooth transitions. Artists can use them for both bold, expressive strokes and delicate shading. Unlike traditional paint, pastels don’t require drying time, making them a versatile and immediate medium for artistic expression.

Pastel Tutorial

Materials Used

  • Oil pastels 
  • Canvas 
  • Paint Pens

Process

To create my pastel painting of a pomegranate, I started by looking for inspiration on Pinterest, gathering references to guide my composition and color choices. Once I had a clear vision, I lightly sketched the outline with a pencil to map out the basic shapes.

I began the painting process by layering the darkest colors first, establishing the shadows and depth. Gradually, I added lighter colors, blending them with my fingers to create smooth transitions. I continued building up layers, refining the details and adjusting the tones until I was happy with the overall look.

Once the pomegranate felt complete, I moved on to the background, carefully adding color to complement the subject. To finish the piece, I used paint pens to highlight key areas and add small stars in the background, giving the painting an extra touch of detail and vibrancy.

Linocut Printmaking

This week, I experimented with linocut printmaking! I have some prior experience with this technique from an undergraduate class, where I created a simple design. This time, I wanted to challenge myself by creating a more intricate and cohesive piece. Inspired by my love of frogs, I set out to bring my design to life through linocut printing.

What is Linocut Printmaking?

Linocut is a form of block printing where a design is carved into a linoleum block. Ink is then applied to the surface, and the block is pressed onto paper to create a print. The carved areas remain ink-free, allowing the design to stand out.

Linocut Tutorial

Materials Used (All purchased at MONKS):

  • Speedball Speedy-Cut Block (4″ x 6″)
  • Speedball Lino Cutter
  • Speedball Water-Soluble Block Printing Ink
  • Tracing Paper
  • Newsprint Paper

Process:

  1. Finding Inspiration – I gathered reference images from Pinterest to help develop my design.
  2. Sketching the Design – I drew my image on tracing paper, making it easier to transfer and visualize the areas to carve.
  3. Transferring the Image – Placing the tracing paper over the linoleum block, I pressed firmly with my palm to transfer the drawing (keeping in mind that the image will be reversed in the final print).
  4. Carving the Block – Using a lino cutter, I carefully carved where the pencil lines were, ensuring the design stood out.
  5. Inking the Block – I rolled a thin layer of black ink onto a glass plate and evenly coated the roller, avoiding excess ink buildup.
  6. Printing the Design – I rolled the ink over the carved block, then pressed the block firmly onto a sheet of paper. Using my hands, I applied pressure before carefully peeling the block away to reveal the final print!

I loved experimenting with this process again and am excited to continue refining my technique. Each print has its own unique texture and character, making linocut a rewarding and dynamic art form!

Rediscovering Creativity: A Journey Through Weekly Art Practices and Exploration

Inquiry Question: How can dedicating time to weekly art practices and exploring various artists, techniques, and materials help me reconnect with my creativity, discover new ways of making art, and develop a sustainable and fulfilling art practice?

For my Inquiry project, I want to explore different approaches to creating art. Art has always been a passion of mine, but with the busyness of school, I often find myself neglecting my art practice. This project will give me the opportunity to intentionally set aside time each week to engage with art and reconnect with my creativity.

As part of this exploration, I will research and draw inspiration from various artists and art tutorials. Each week, I will document my journey by sharing photos of the art projects I’m working on or have completed. I’ll also include details about the resources that inspired me, the materials I used, and the techniques I experimented with.

Through this process, my goal is to develop my skills, discover new ways of making art, and build a consistent art practice that is both fulfilling and sustainable.

Below I have provided some of my previous art projects.

Teacups – Inspired by the textures and patterns found in nature, I crafted these teacups using a pottery wheel. I glazed them with a rich green and brown glaze, evoking earthy tones reminiscent of natural elements.

In Bloom – One of my first experiments with monoprinting, this piece was created using a gel pad. I layered paint and pressed flowers onto the surface, capturing their delicate details and natural textures in an organic, ethereal composition.

Painted Lady – Using paint pens, I created this surreal painting, layering intricate details and bold colors to bring the composition to life.

Into the Forest – This mixed-media piece combines traditional acrylic painting with paint pens to add depth and texture. To enhance the composition, I painted animals and insects on cut-out pieces of construction paper and layered them onto the canvas, creating a dynamic, three-dimensional effect.

Caught in Space – For the background of this collage, I used a paint pour technique to create a fluid, cosmic effect. I then layered magazine cutouts to construct a dynamic space-themed composition.

Garlic – This still life was created using pastels, capturing the organic form and subtle color variations of garlic with soft, blended textures.